
Installing a valve actuator seems simple, but one mistake can cause leaks, damage, or accidents. This leads to costly downtime and erodes your system’s reliability. Follow this guide to ensure a perfect installation.
Proper actuator installation requires a strict safety-first approach. You must isolate the valve, remove the old unit without damaging the stem, precisely mount and align the new actuator, connect it properly, and perform thorough commissioning tests before returning it to service.
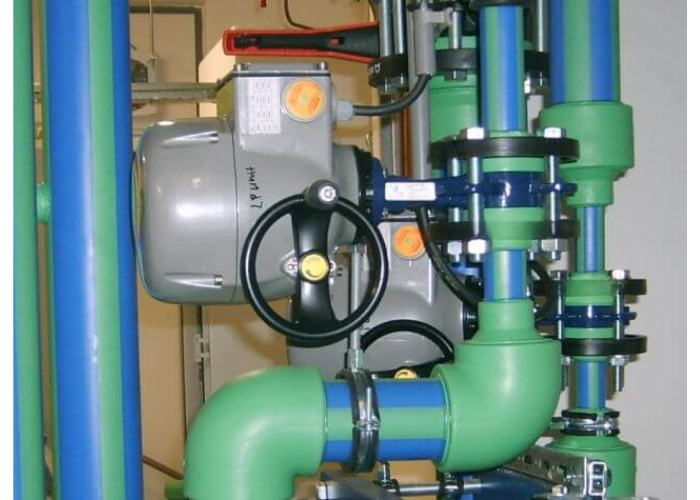
I’ll never forget the first time I helped a technician in my father’s factory install an actuator. I thought we could just unbolt the old one and bolt on the new one. But my father stopped me. He handed me a checklist and said, “Emily, the work doesn’t start with a wrench. It starts with this paper. Safety first, then precision.” That lesson stuck with me. Recently, I was talking to Hassan, a chief project engineer, and he said the same thing. He told me, “An actuator is the muscle of the valve. If you don’t connect it to the bone correctly, the whole system is useless and dangerous.” Their shared wisdom highlights a universal truth: a successful installation is all in the preparation and process. Let’s walk through those steps together.
Are You Skipping This Critical Safety Checklist Before Starting?
You’re under pressure to get the line back up and running, so you want to start unbolting immediately. Rushing this first step can lead to a sudden release of pressure or fluid.
Skipping the pre-installation safety check is the most dangerous mistake you can make. It risks personal injury and equipment damage. You must completely isolate the valve from the process and all power sources before your hands ever touch a tool.
Dive Deeper: The Non-Negotiable Safety Protocol
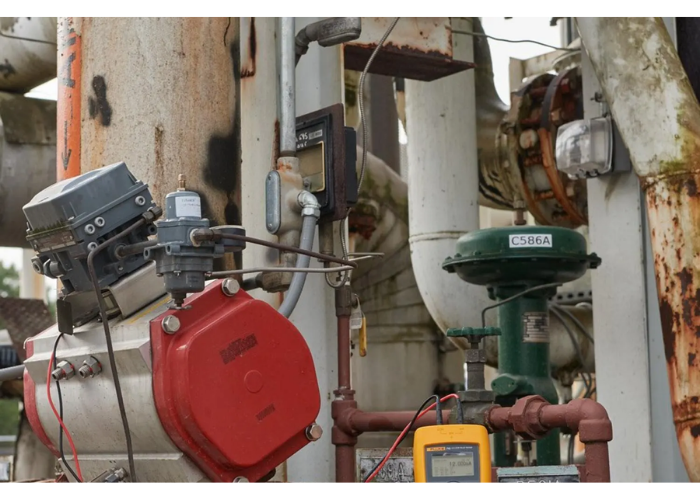
Safety isn’t a suggestion; it’s a requirement. Before you even think about which wrench to use, you must create a safe work environment. This means de-energizing the valve and actuator from every possible source of power or pressure. Hassan once told me about an incident where a junior engineer assumed a line was empty, only to be sprayed with hot condensate because the valve wasn’t properly drained. Don’t make that mistake. Follow this checklist without fail.
The Essential Pre-Installation Safety Checklist
| Étape | Action | Why It’s Critical |
|---|---|---|
| 1. Isolate the Valve | Shut down the process line or use a bypass. Lock and tag the isolation valves. | Prevents process fluid or gas from entering the work area under pressure. |
| 2. Drain the Valve | Open drain plugs or ports to completely empty any residual fluid from the valve body. | Protects you from chemical exposure, burns, or spills. |
| 3. Disconnect Air | Disconnect and lock out the main pneumatic air supply line feeding the actuator. | Prevents the actuator from moving unexpectedly if a signal is accidentally sent. |
| 4. Disconnect Power | Disconnect and lock out all electrical power to the actuator and any accessories. | Eliminates the risk of electric shock from solenoids, switches, or positioners. |
| 5. Disconnect Signal | Disconnect the 4-20mA or other control signal wiring. | Ensures no stray signals from the control room can attempt to operate the unit. |
| 6. Check Seals | If the valve bonnet was opened for service, always have new gaskets ready. | Reusing old, compressed gaskets is a primary cause of post-maintenance leaks. |
Only when every item on this list is complete can you safely proceed with removing the old hardware. This systematic approach is what separates professionals from amateurs and ensures everyone goes home safe.
How Do You Replace the Old Actuator Without Damaging Your Valve?
You try to lift the old actuator off, but it’s stuck. You apply force, and suddenly the valve stem is bent. Now you have a much bigger problem than just a faulty actuator.
Incorrect removal or installation techniques can damage the delicate valve stem or mounting bonnet. You must follow a careful disassembly sequence and then ensure perfect alignment when mounting the new unit to avoid creating new problems.
Dive Deeper: A Precise Mechanical Process
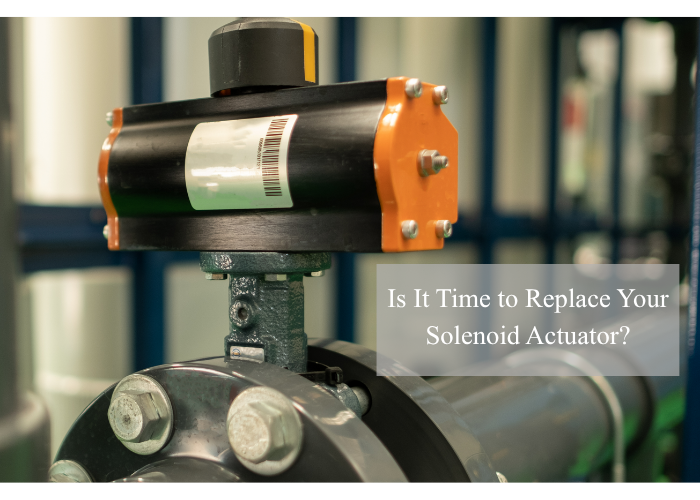
Replacing an actuator is a mechanical task that demands precision. A bent stem or a misaligned mount will cause poor performance, damage the valve’s packing, and lead to premature failure of both the valve and the actuator. Let’s break down the removal and installation into clear, manageable steps.
Step 1: Removing the Existing Actuator
- Position the Valve: If possible, move the actuator to its mid-stroke position. This often relieves pressure from the internal components and makes disassembly easier.
- Disconnect Everything: After completing the safety checks, disconnect any remaining air tubing, electrical conduits, and positioner linkages from the actuator body.
- Uncouple the Stems: Locate the coupling that connects the actuator stem to the valve stem. Carefully remove the bolts securing it.
- Loosen the Mount: Unscrew the large mounting nut or bolts that secure the actuator to the valve bonnet. You may need to gently loosen the valve’s gland nut to ensure the stem is completely free.
- Lift Carefully: With all connections removed, lift the actuator straight up, being very careful not to put any sideways force on the valve stem. Have a colleague help if it’s heavy.
Step 2: Installing the New Actuator
- Inspect and Prepare: Before mounting, inspect the new actuator to confirm it’s the correct model and has the right travel range for your valve. Apply a thin layer of lubricant (like Molykote paste) to the bonnet threads.
- Mount and Align: Carefully lower the new actuator onto the valve bonnet. Ensure it is perfectly aligned and seated. Hand-tighten the mounting nut first, then use a wrench to secure it firmly but do not over-tighten.
- Connect the Stems: Align the actuator stem with the valve stem and secure the coupling. Check that the alignment is perfect. For pneumatic actuators, you can apply very slight air pressure to make tiny adjustments if needed.
- Calibrate the Stroke: Gradually apply air pressure and check for smooth movement. Apply the maximum required pressure to ensure the valve travels to its fully open position, and then release the air to ensure it returns to its fully closed (or fail-safe) position. Verify the travel indicators are accurate.
Is Your Newly Installed Actuator Actually Ready for Service?
The new actuator is bolted on and the air is connected. You assume the job is finished. But hidden issues like a slight misalignment or incorrect pressure will only appear under real operating conditions.
An installation isn’t complete until after commissioning. You must perform functional tests to check for smooth operation, leaks, and correct signal response. This final check ensures the actuator performs reliably and safely once the process is live.
Dive Deeper: Commissioning and Verifying Your Work
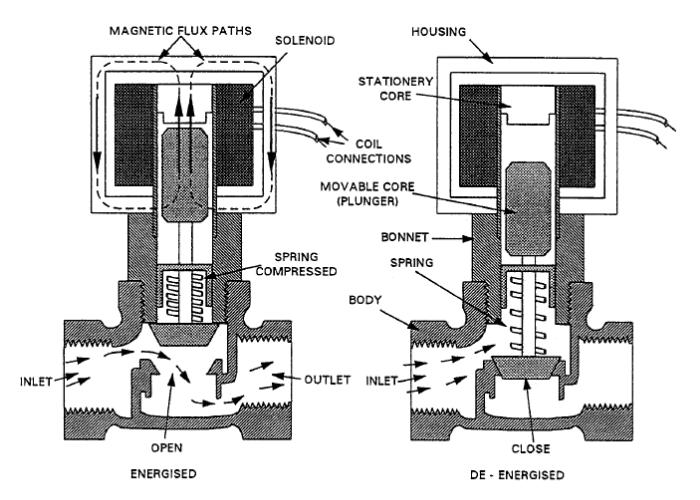
The commissioning phase is where you prove the quality of your installation. This is your chance to catch and fix minor issues before they become major operational problems. Skipping this step is like building an engine and not starting it until it’s in the car. You need to verify its function in a controlled way. Run the actuator through several full cycles (open to close and back) and pay close attention to its performance.
Functional Testing Checklist
- Smooth Operation: Does the soupape move smoothly throughout its entire stroke? Any jerking or hesitation can indicate a mechanical bind, incorrect air pressure, or internal issues.
- No Leaks: Use a leak detection solution (like soapy water) on all pneumatic fittings. Check the valve packing gland for any signs of fluid leakage, which could indicate a damaged stem from the installation.
- No Abnormal Noise: Listen for grinding, clanking, or excessive air hissing. The actuator should operate relatively quietly. Noise often points to misalignment or internal component problems.
- Control Signal Response: For automated valves, send signals from the control room (e.g., 0%, 25%, 50%, 75%, 100%). Verify that the valve moves to the correct position and that the position feedback signal is accurate.
Troubleshooting Common Post-Installation Issues
| Enjeu | Cause possible | Solution |
|---|---|---|
| Jerky Movement | Misalignment between actuator and valve stem; insufficient air supply pressure. | Re-check alignment. Increase supply pressure according to manufacturer specifications. |
| Air Leakage at Fittings | Under-tightened connections or damaged threads. | Re-tighten fittings. If leaking persists, replace the fitting. Use thread sealant tape. |
| Actuator Won’t Move | Air supply is still off; incorrect wiring; mechanical bind. | Verify air supply and power are live. Double-check wiring diagrams. Check for misalignment. |
| Valve Not Fully Closing | Travel stops are set incorrectly; actuator is undersized for the valve’s torque. | Re-calibrate the travel stops. Confirm actuator torque rating is sufficient for the valve. |
How Can You Ensure Your Actuator Provides Years of Reliable Service?
You’ve successfully installed and tested the actionneur. Now you can forget about it for the next five years, right? This “install and forget” approach will certainly lead to a much shorter service life.
Long-term reliability depends on consistent, proactive care. A simple schedule of inspection, lubrication, and monitoring will prevent most common failures and significantly extend the actuator’s lifespan, protecting your investment.
Dive Deeper: From Installation to Long-Term Care
A correctly installed actuator is the foundation for reliability, but it’s not the whole story. Just like your car needs regular oil changes, your actuator needs periodic attention to keep performing at its peak. This doesn’t have to be a complicated or time-consuming task. Building a simple preventive maintenance routine will pay for itself many times over by preventing unexpected and costly failures.
My father always said, “Pay a little for maintenance now, or pay a lot for a shutdown later.” That wisdom is the core of any successful reliability program. Here are the key practices you should adopt for your actuators.
Key Tips for Long-Term Reliability
- Regular Visual Inspection: Once a month, take a walk around your plant. Look for signs of corrosion, loose fittings, or physical damage. Listen for any new or unusual noises during operation.
- Monitor Air Supply Quality: This is critical for pneumatic actuators. The instrument air should be clean and dry. Moisture in the air lines will corrode internal components and cause the actuator to stick. Check your air filter drains and air dryer system regularly.
- Scheduled Lubrication: Moving parts need lubrication. Refer to the manufacturer’s manual to identify lubrication points and the recommended type of grease or oil. Schedule this as part of your yearly maintenance plan.
- Periodic Calibration: Over time and with vibration, the actuator’s travel settings can drift. Once a year, or as recommended by the manufacturer, verify the full open and full close positions. For control valves, re-calibrate the positioner to ensure it remains accurate.
- Keep Records: Log all maintenance activities. This history is invaluable for troubleshooting future problems and identifying trends. If you notice a specific actuator needs frequent adjustments, it might signal an underlying issue with the valve or the application itself.
FAQ
1. How do I know if my actuator is compatible with my valve?
Compatibility depends on three main things: torque, travel, and mounting. The actuator must produce enough torque to operate the valve against process pressure. Its travel (e.g., 90 degrees for a ball valve, or linear travel for a globe valve) must match the valve’s requirement. Finally, the mounting flange must match the valve’s bonnet, often following an international standard like ISO 5211.
2. What pressure should I use for pneumatic actuators?
There is no single answer. The required air pressure depends on the actuator’s size and the torque needed to turn the valve. Always consult the manufacturer’s sizing chart. It will tell you the torque output at various supply pressures. Using pressure that is too low will prevent the valve from operating, while excessive pressure can damage the actuator or valve.
3. Can I install a valve actuator without shutting down the system?
Absolutely not. Attempting to remove an actuator while the soupape is under pressure is extremely dangerous. It can lead to a violent release of high-pressure process fluid, causing severe injury or death. Always follow the full safety isolation and lockout/tagout procedure.
4. What are the immediate signs of an improper installation?
The most common signs are air leaks from fittings, jerky or noisy operation, and the valve failing to reach its fully open or fully closed positions. You might also notice the valve’s packing leaking, which can be caused by stem misalignment during installation.
Conclusion
Proper actuator installation is not just a mechanical task; it’s a critical process for ensuring safety, efficiency, and long-term reliability. By following these steps carefully, you protect your people, your equipment, and your plant’s performance.


 English
 Arabic
 Russian
 French
 Spanish