
RV Gate Valve Leaking? A Step-by-Step Guide to Stop the Drip.
There’s perhaps no more disheartening sight for an RVer than a slow, persistent drip (or worse!) from the sewer outlet. An RV gate valve leaking isn’t just unpleasant; it’s a hygiene concern, a potential environmental issue, and a sign that your waste management system needs immediate attention. Whether it’s your RV black tank valve won’t close all the way or your grey tank producing an RV sewer valve dripping steadily, a faulty valve threatens the convenience and cleanliness of your RV adventures. According to the 2026 RV Industry Trends Report, the average time for service work orders has fallen to 30.6 days in 2025, a significant improvement from previous years. This highlights a more stable supply chain and better dealer efficiency. IDS 2026 RV Industry Trends Report.
Don’t ignore a leaking RV waste valve. Even a slow drip can become a major headache. This guide from BCST Valve will walk you through precise steps to diagnose and stop that frustrating drip, restoring integrity to your RV’s plumbing quickly and effectively.
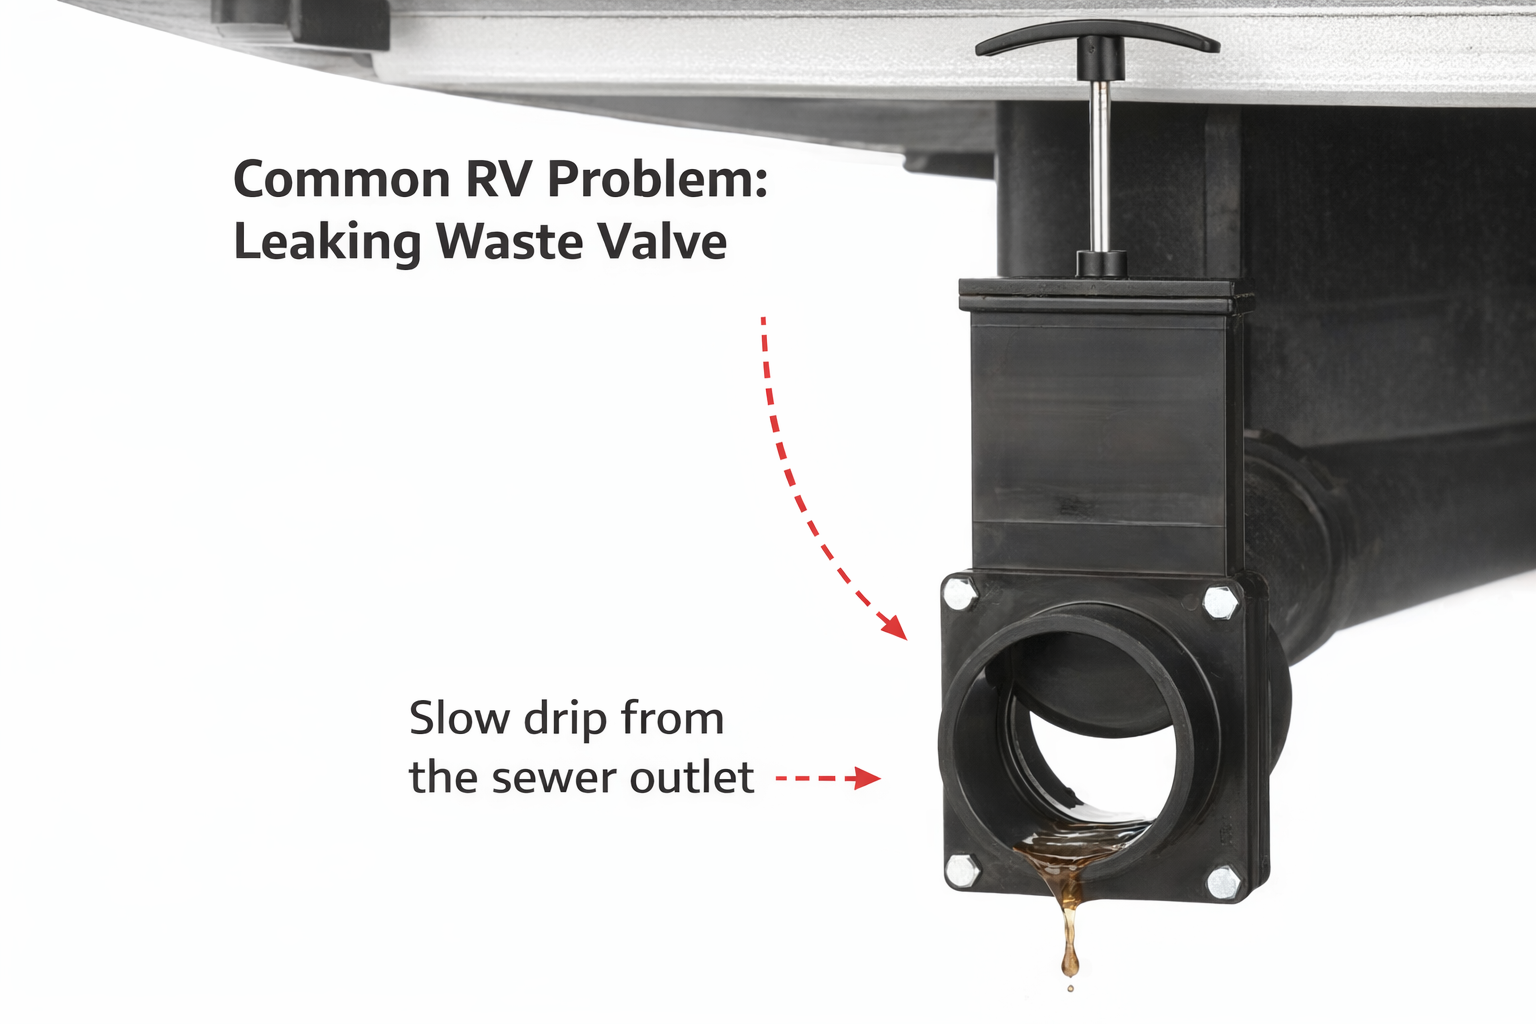
Why Your RV Gate Valve is Leaking: Common Causes
To effectively stop the drip, you first need to identify its source. Most RV gate valve leaks stem from a few primary culprits:
- Debris Lodged in the Seals: The most common reason an RV black tank valve won’t close all the way or a grey tank valve drips is that a piece of toilet paper, solid waste, food particle, or hair has gotten caught between the sliding gate (blade) and the rubber seals. This prevents the gate from fully seating, creating a gap for liquid to escape.
- Worn or Damaged Seals: Over time, the rubber seals within the RV waste valve can dry out, become brittle, crack, or even tear. Chemical treatments, prolonged exposure to waste, and constant friction can accelerate this wear.
- Lack of Lubrication: Dry seals lead to increased friction, making the valve harder to open and close and accelerating wear. Dry seals also lose their flexibility, making them less effective at sealing.
- Damaged Gate/Blade or Valve Body: Less common, but possible, are issues with the gate bending, or the valve body (often plastic) cracking due to impact or extreme temperatures.
Step-by-Step: How to Fix an RV Gate Valve Leak
Understanding the valve’s basic components, as shown in our Ultimate Guide to RV Gate Valves (Black & Grey Tanks), will help you diagnose and target the leak effectively. Here’s a structured approach to tackle that RV sewer valve dripping.
Step 1: Initial Checks & The Quick Fixes (Dislodge Debris, Lubricate)
- Ensure Safety First: Always wear gloves and eye protection when working with waste tanks.
- Thorough Tank Flushing and Rinsing: This is your first and often most effective line of defense against an rv gate valve leaking due to debris.
- For Black Tanks: After dumping, use your RV’s built-in tank flush system (if you have one) or a separate tank rinse wand. Fill the tank partially (at least 1/4 full) with fresh water, drive for a short distance (to slosh the contents around), and then dump again. Repeat until the rinse water runs clear. This can help dislodge any pesky paper or solids from the valve seals.
- For Grey Tanks: Fill the grey tank with soapy water (dish soap works well), drive around, and then dump. The soapy water can help cut through grease and grime blocking the seals.
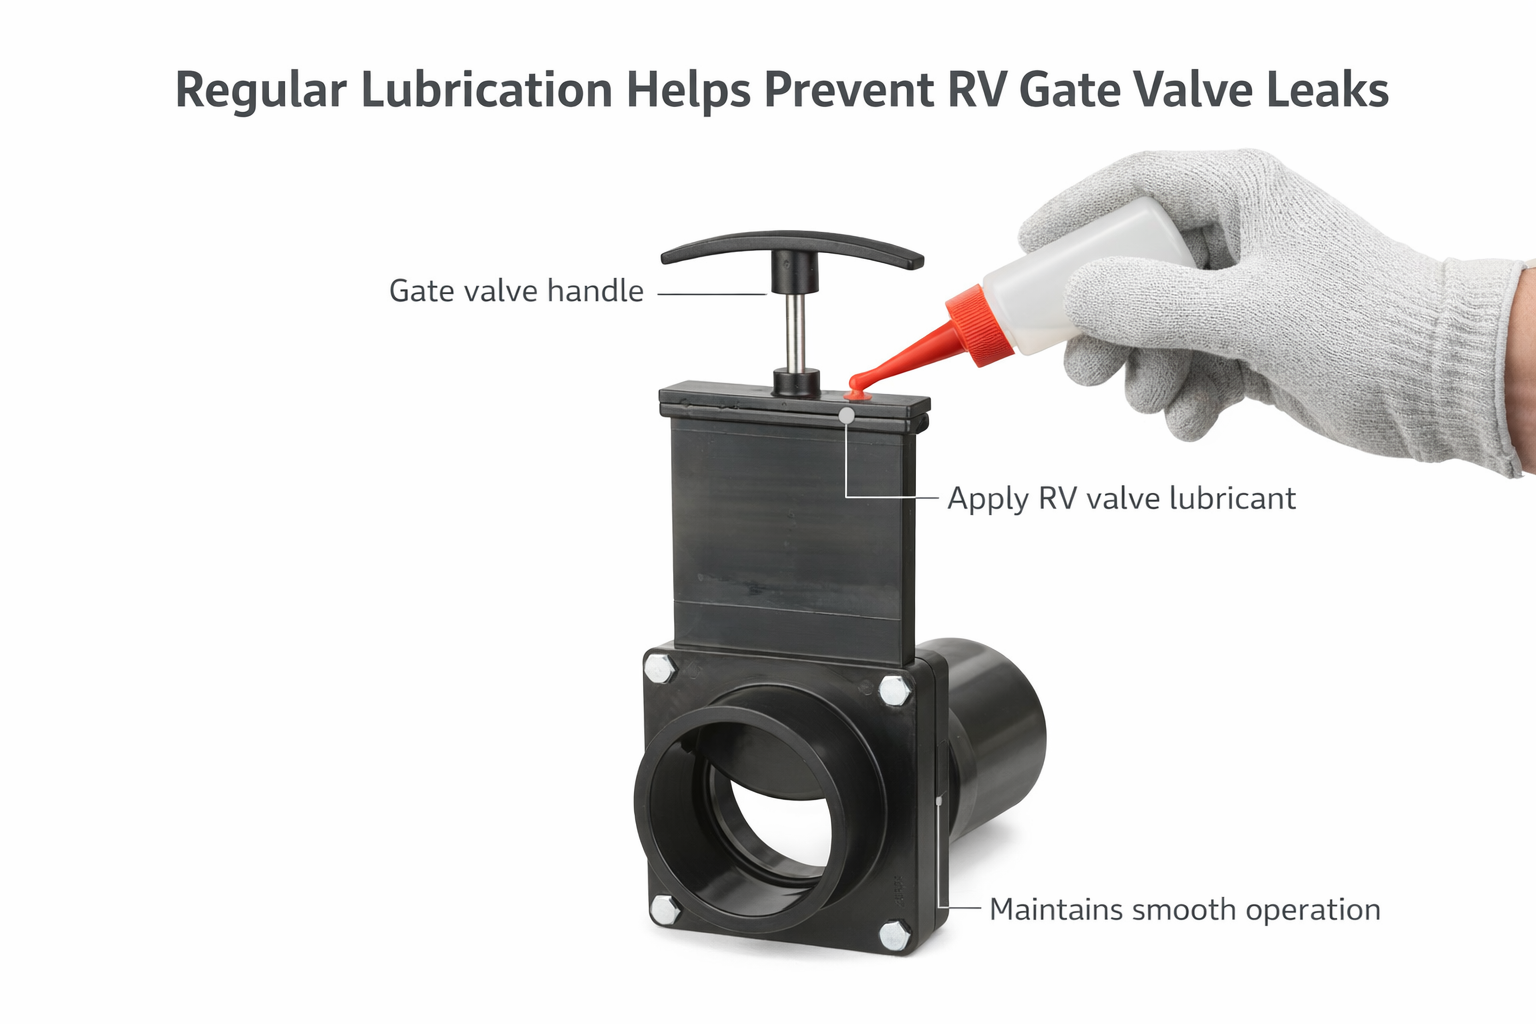
- Lubricate Your Valve: Dried-out seals often respond well to lubrication.
- Method 1: Direct Application: If accessible, you can try to spray a silicone-based lubricant (like WD-40 Silicone Spray – NO petroleum-based products!) directly onto the gate and into the valve body.
- Method 2: Through the Tank: Use a specialized RV valve lubricant or tank treatment designed to condition seals. Add the recommended amount to an empty black or grey tank, add about 5 gallons of water, open and close the valve several times, then let it sit for a few hours before fully draining.
Step 2: Inspecting the Seals and Considering Repair vs. Replacement
If flushing and lubricating don’t stop the leak, the internal seals are likely bad. At this point, you’re faced with a choice: try to repair the seals or opt for a full RV gate valve replacement. Your next step is to decide between a seal replacement and a full valve replacement, which we cover in our Repair vs. Replace: Should You Use a Repair Kit or a Whole New Valve? guide.
- Visual Inspection of Seals (If Possible): If you’re comfortable and the valve is somewhat accessible, a careful inspection from the sewer outlet can sometimes reveal obvious damage to the seals. With the valve open, shine a flashlight in and look for tears, cracks, or excessive wear on the rubber rings. This can tell you if an RV waste valve repair kit with new seals is a viable option.
- Consider Age and Condition: If the valve is old and has been problematic, a full rv gate valve replacement might be the more reliable, long-term solution.
Preventing Future RV Gate Valve Leaks
An ounce of prevention is worth a pound of cure, especially when it comes to RV waste valve maintenance. Incorporating these simple habits into your routine can drastically reduce the chances of encountering a leaking RV gate valve again:
- Regular Lubrication: As discussed, make RV valve lubricant a part of your regular tank treatment.
- Be Diligent About Flushing: Never skip the final flush after dumping, especially the black tank. This is critical for preventing debris buildup around the seals.
- Use Plenty of Water: Always use an adequate amount of water when flushing the toilet, and ensure a sufficient amount of water remains in the black tank between dumps to help break down solids and prevent them from drying out on the valve seals.
- Avoid Harsh Chemicals: Stick to RV-specific tank treatments. Harsh household chemicals can degrade the rubber seals over time.
- Proper Winterization: Ensure all water is drained, and valves are left slightly ajar (after cleaning) or lubricated during winter storage to prevent freezing and cracking.
خاتمة
Dealing with an RV gate valve leaking can be a nuisance, but with the right diagnostic steps and preventative maintenance, it doesn’t have to ruin your trip. By understanding the common causes of an RV sewer valve dripping and following our step-by-step guide, you can confidently tackle most issues, whether it’s a simple matter of dislodging debris or deciding on an RV waste valve repair kit or full rv gate valve replacement. Keep your system running smoothly, and enjoy the open road with peace of mind!
Need a new RV waste valve or repair kit?


 English
 Arabic
 Russian
 French
 Spanish