
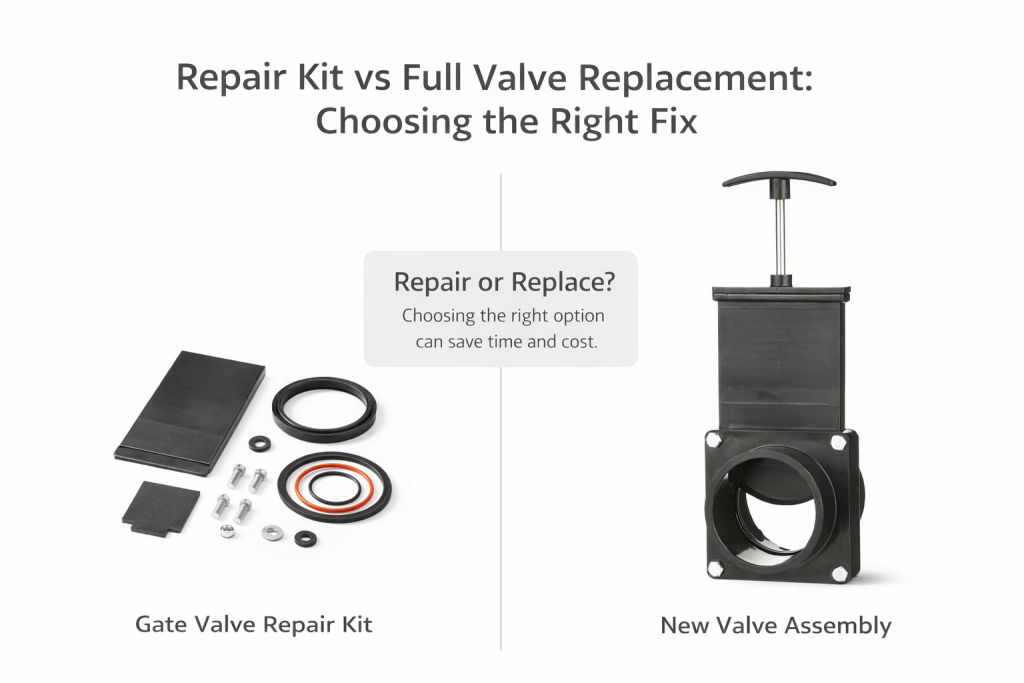
Repair vs. Replace: Should You Use an RV Gate Valve Repair Kit or a Whole New Valve?
So, your RV gate valve is leaking, dripping, or stuck. It’s a messy, unpleasant problem that can ruin a trip. Now you’re faced with the big question: can you get away with a simple repair, or do you need to replace the entire valve?
This guide is your decision-making framework. We’ll walk you through a simple inspection process to help you confidently choose between using an RV waste valve repair kit and performing a full RV gate valve replacement. Making the right choice upfront will save you time, money, and a huge headache.
Before we dive in, if you’re new to your RV’s plumbing system, it’s helpful to understand all the parts involved. You can get a complete overview in our Ultimate Guide to Your RV Gate Valves (Black & Grey Tanks).
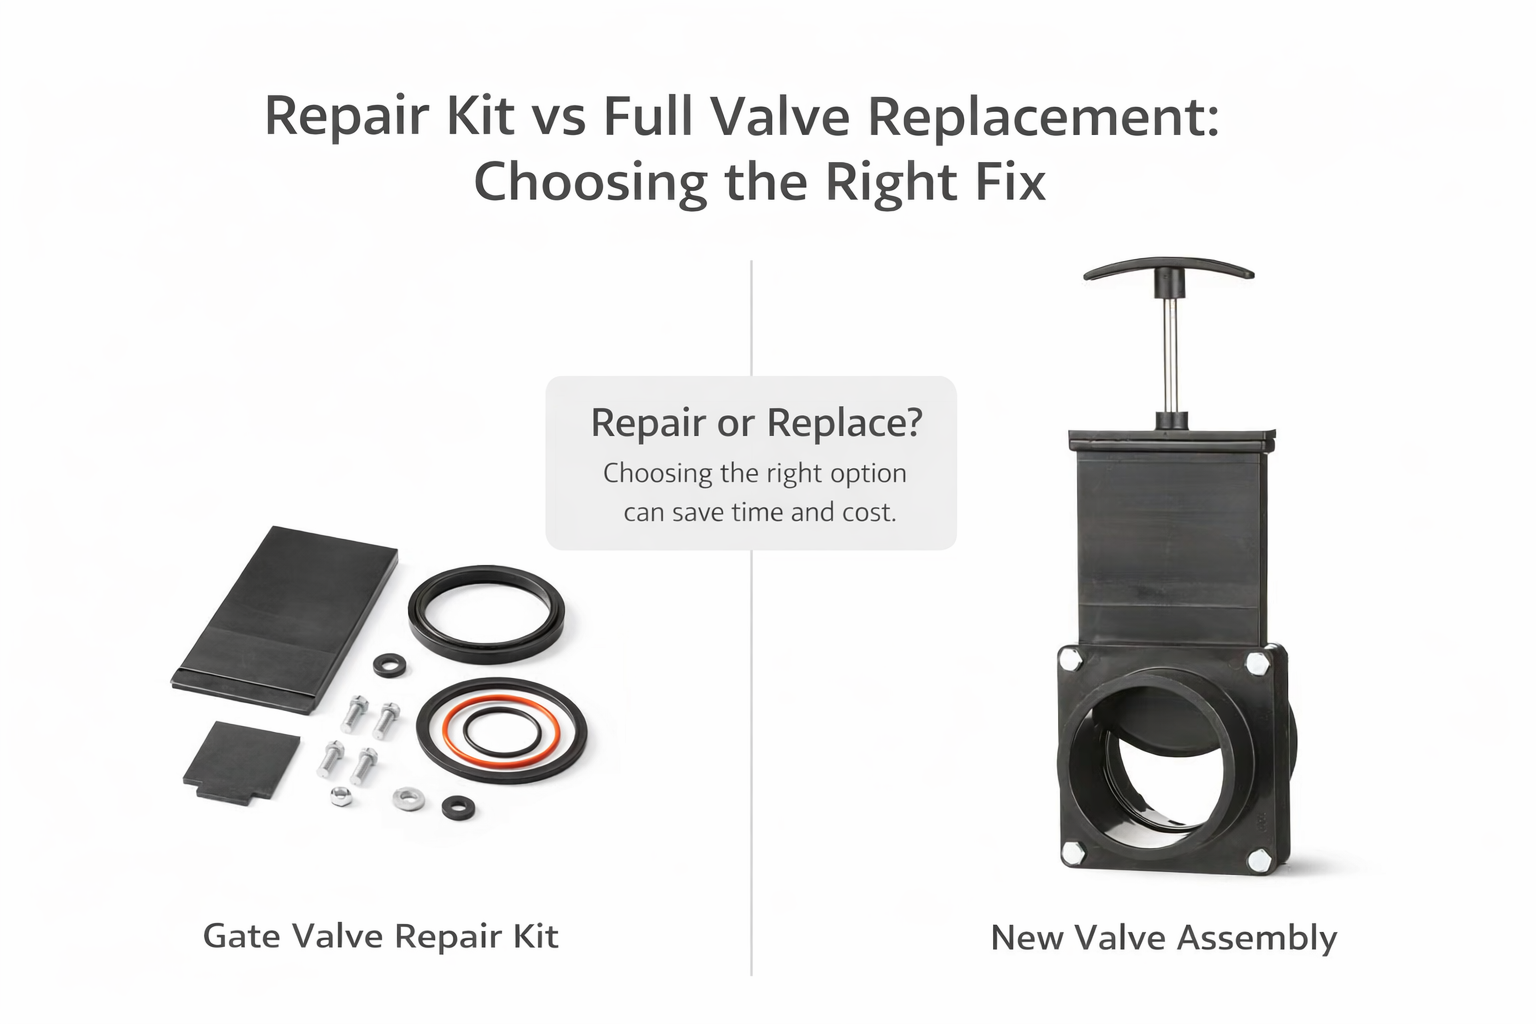
The 3-Point Inspection: Your Decision-Making Checklist
Before you buy any parts, you need to play detective. Grab a flashlight and take a close look at your valve assembly. What you find will tell you exactly what you need to do when considering an RV gate valve replacement vs repair.
1. Inspect the Handle and Stem
Question: Is the handle cracked, broken, or does it feel disconnected from the valve inside? When you pull it, does the metal stem wobble excessively?
Decision: If YES → Go to REPLACE. An RV waste valve repair kit only includes seals, not the handle or stem assembly. Attempting a repair on a valve with a bad handle is a waste of time and won’t fix the underlying issue of why your RV sewer valve isn’t working correctly.
2. Inspect the Valve Body
Question: Look closely at the plastic housing where the four bolts go through. Do you see any hairline cracks? Is the plastic severely discolored and brittle from age or sun exposure?
Decision: If YES → Go to REPLACE. A cracked body will fail again, even with new seals. The integrity of the housing is critical for containing waste. This clearly points towards a full RV gate valve replacement.
3. Analyze the Leak/Sticking Issue
Question: Is it a slow, constant drip when the valve is closed? (This often indicates debris or a worn seal). Or is the valve completely seized and won’t move at all?
Decision: If it’s just a slow drip and the body/handle are fine → REPAIR is a strong option. This is the classic symptom an RV waste valve repair kit with new seals is designed to fix. If it’s seized shut, it could be just debris (which you might try to flush out first, as discussed in RV Gate Valve Leaking? A Step-by-Step Guide to Stop the Drip), but it often points to internal warping or severe damage that warrants a full replacement.
The Case for Repair: When an “RV Waste Valve Repair Kit” is Your Best Bet
أن RV waste valve repair kit (often specifically an RV black tank valve repair kit if that’s the one you’re fixing) is a great choice IF your inspection showed:
- A solid, uncracked valve body.
- A fully intact handle and stem.
- The primary problem is a slow drip or a valve that feels a bit gritty but still operates.
| Pros of Repair | Cons of Repair |
|---|---|
| Lower part cost (kits are inexpensive). | Doesn’t fix underlying damage to the valve body. |
| Faster job (usually under an hour for experienced DIYers). | Might not last if the valve is very old or has hidden damage. |
| Less intimidating for a first-timer. | You still have to take the valve apart, which can be messy. |
When a Full “RV Gate Valve Replacement” is the Only Answer
Sometimes, trying to repair an old, failing valve is just putting a band-aid on a bigger problem. A full RV gate valve replacement is the non-negotiable, long-term solution if your inspection revealed:
- Any cracks in the valve body.
- A broken handle or damaged stem (e.g., an RV gate valve handle that’s snapped).
- The valve is original on a very old rig and is brittle and discolored.
- You’ve already tried a repair kit and the leak re-appeared quickly.
| Pros of Replacement | Cons of Replacement |
|---|---|
| Complete peace of mind with brand new components. | Higher part cost than just a repair kit. |
| Solves all potential issues (seals, body, handle, blade). | Can be a more involved job, especially if access is tight or you need to replace your entire RV waste valve assembly. |
| Often an easier task than trying to clean up and salvage an old, seized valve. | May require more specialized tools or plumbing knowledge. |
How to Repair an RV Gate Valve (A Quick Overview)
Decided an RV waste valve repair kit is the right move? Great. Here’s a quick look at the process so you know what you’re getting into:
- Step 1: Get the Kit and Tools. Make sure you have the right size kit (usually 3″ for black tanks, 1.5″ or 2″ for grey) and basic tools like a wrench or socket set, screwdriver, and pry tool.
- Step 2: Drain and Flush. Ensure the tank is completely empty and flushed thoroughly. This cannot be stressed enough for a safer and cleaner job.
- Step 3: Disassemble. Locate the four nuts and bolts holding the valve between the pipe flanges. Carefully remove them.
- Step 4: Swap the Seals. With the bolts removed, you can usually pull the pipe flanges apart just enough to remove the old seals and slide the entire valve body out. Replace the deteriorated seals with the new ones from your RV gate valve repair kit.
- Step 5: Reassemble and Test. Lubricate the new seals with an RV-safe lubricant. Carefully slide the valve back into place, ensuring the seals are properly seated. Reassemble the flanges and tighten the bolts in a star pattern (like changing a tire) to ensure even pressure. Test for leaks before you call the job done.
The Final Verdict & Your Next Step
Ultimately, the choice is simple. If your valve’s core structure—the body and handle—is in good shape, an RV waste valve repair kit is a smart, economical fix. If you see any signs of physical damage or advanced age, a full RV gate valve replacement is the only way to guarantee a leak-free future for your RV sewer valve.
If you’ve decided a full replacement is the right move, don’t worry—we’ve got you covered. Your next stop is our complete, photo-rich tutorial that will guide you through every single step: A Complete DIY Guide to RV Gate Valve Replacement.
Need reliable RV gate valve components?


 English
 Arabic
 Russian
 French
 Spanish